
비트와 자장가
광선 추적기ray tracer 만들기 본문
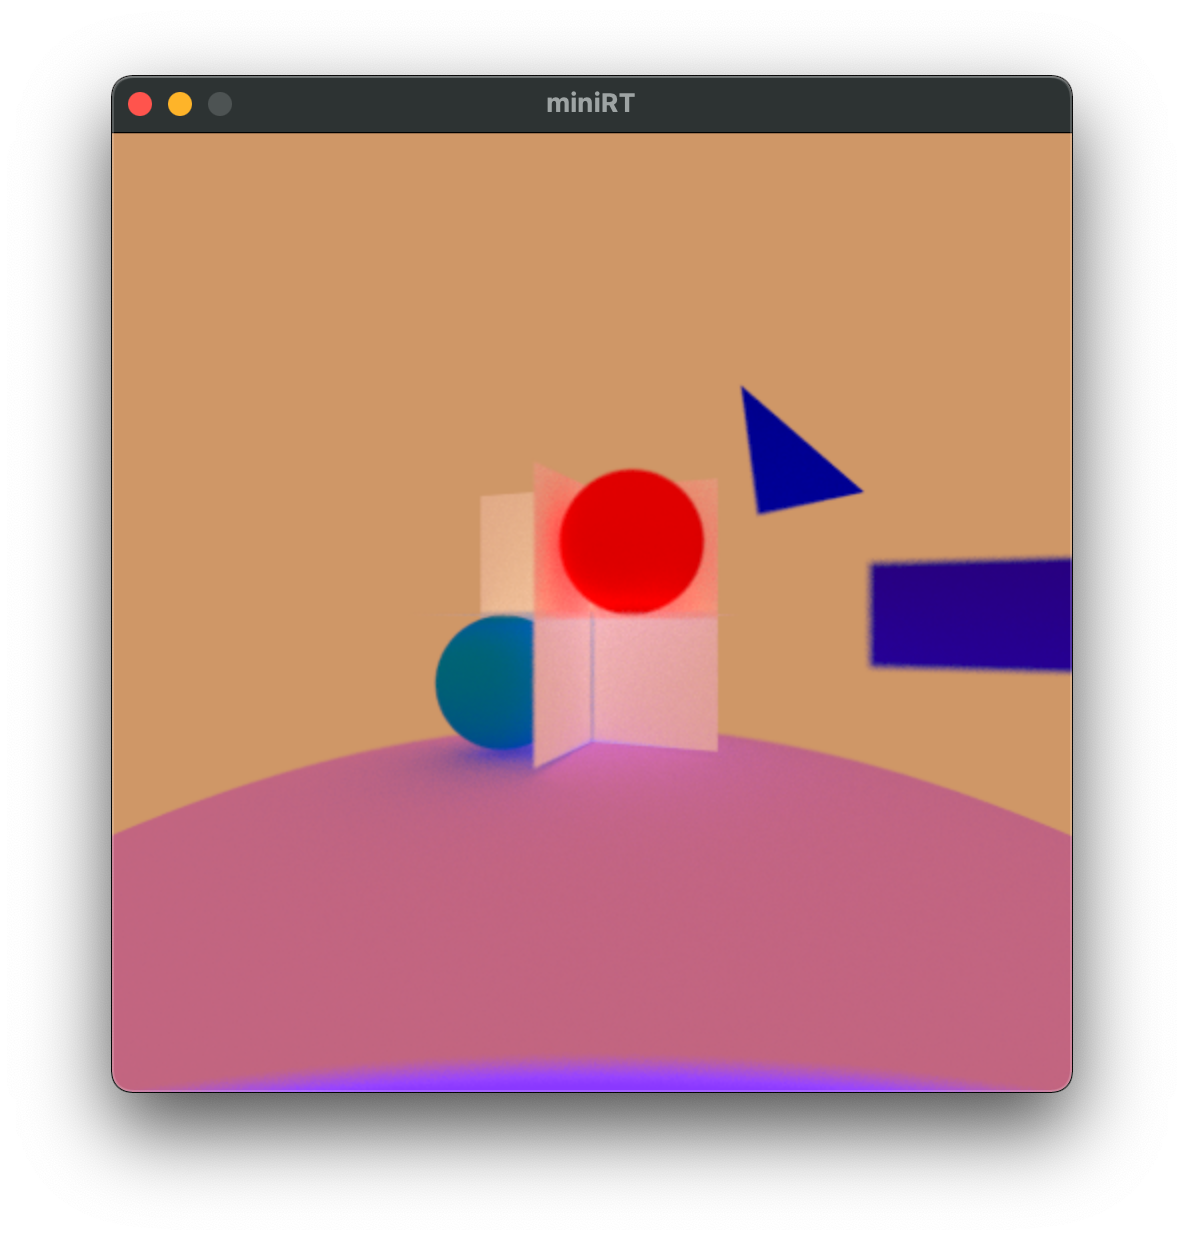
CPU 멀티쓰레드로 BVH 같은 최적화 없이 실시간 (비스무리하게) 돌아가도록 만든 광선 추적기다.
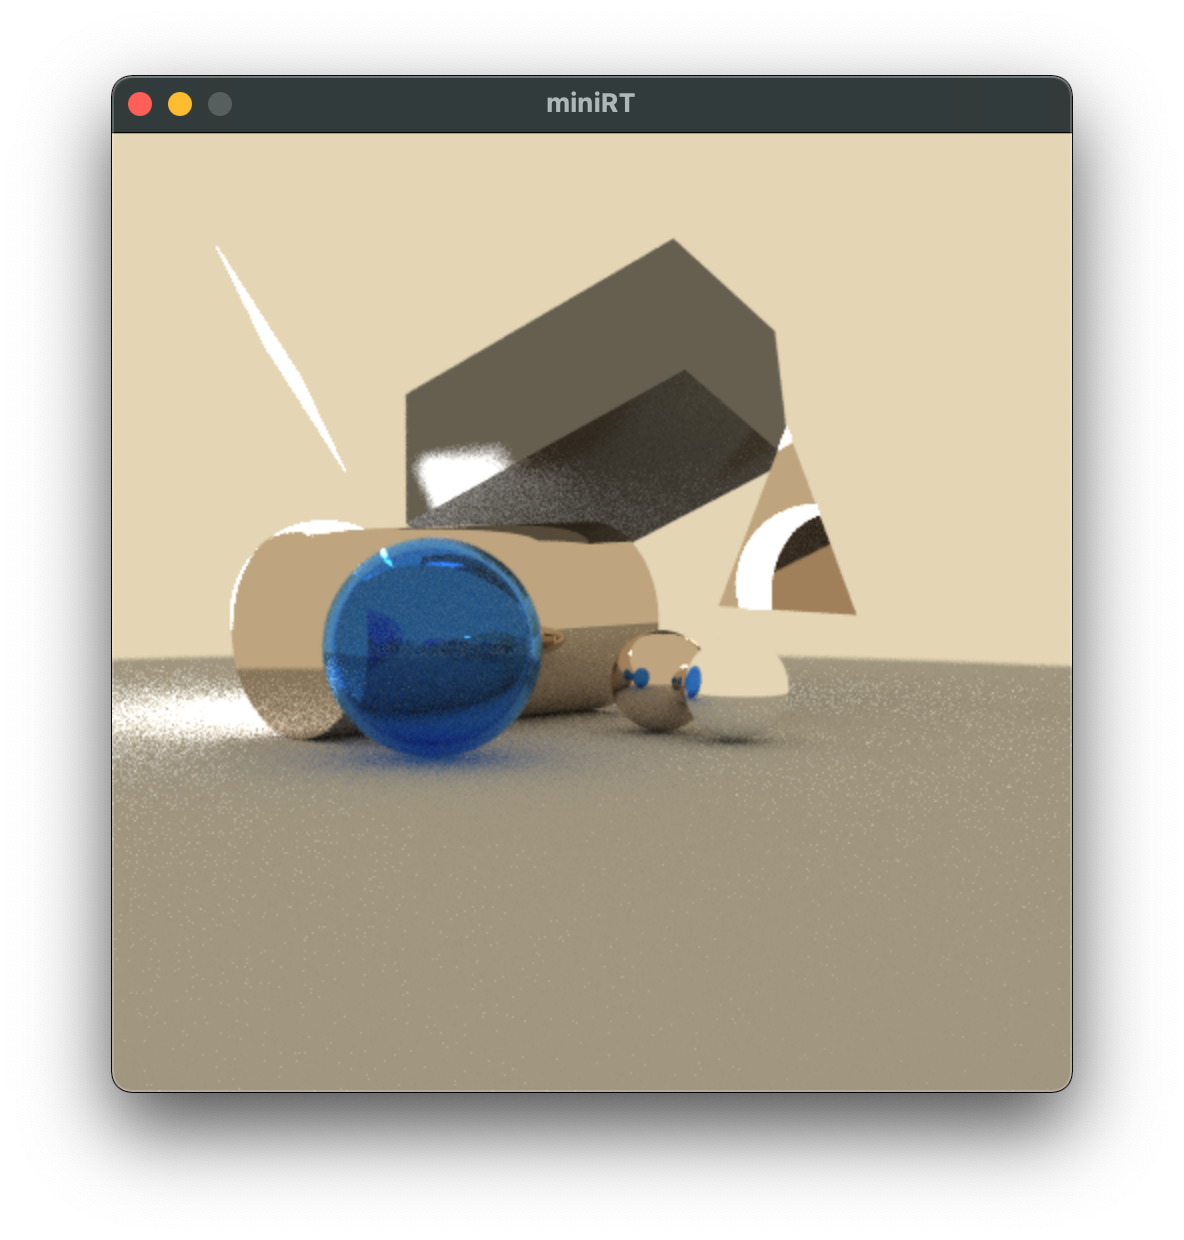
실시간성(?)의 핵심은 다음과 같다:
void multi_record(void)
{
pthread_t thread[THREAD];
unsigned long id;
id = 0;
while (id < THREAD)
{
if (pthread_create(&thread[id], NULL, thread_record, (void *)id))
quit(MALLOC);
id++;
}
while (id--)
pthread_join(thread[id], NULL);
record_(screen, light, accumulated);
}
void press_key(void)
{
camera = camera_(setting);
depth = 8;
samples = 1;
accumulated = 1;
reset(light);
multi_record();
show(screen);
}
int loop_(void)
{
if (depth < depth_limit || samples < samples_limit)
{
if (depth < depth_limit)
{
reset(light);
++depth;
}
else
accumulated += ++samples;
multi_record();
show(screen);
}
return (0);
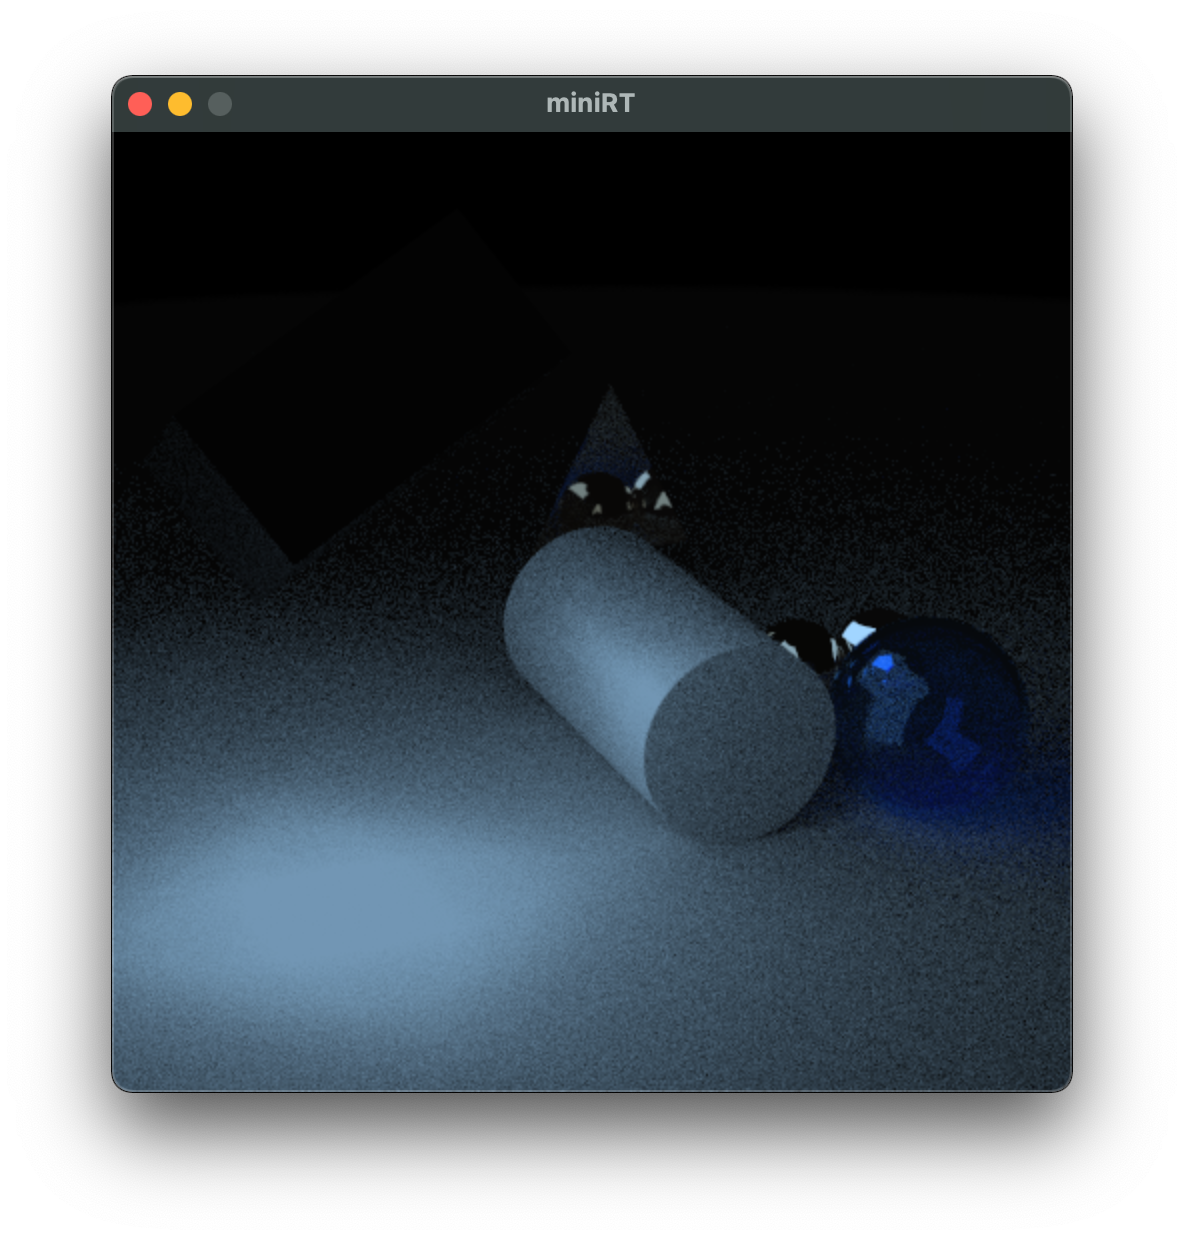
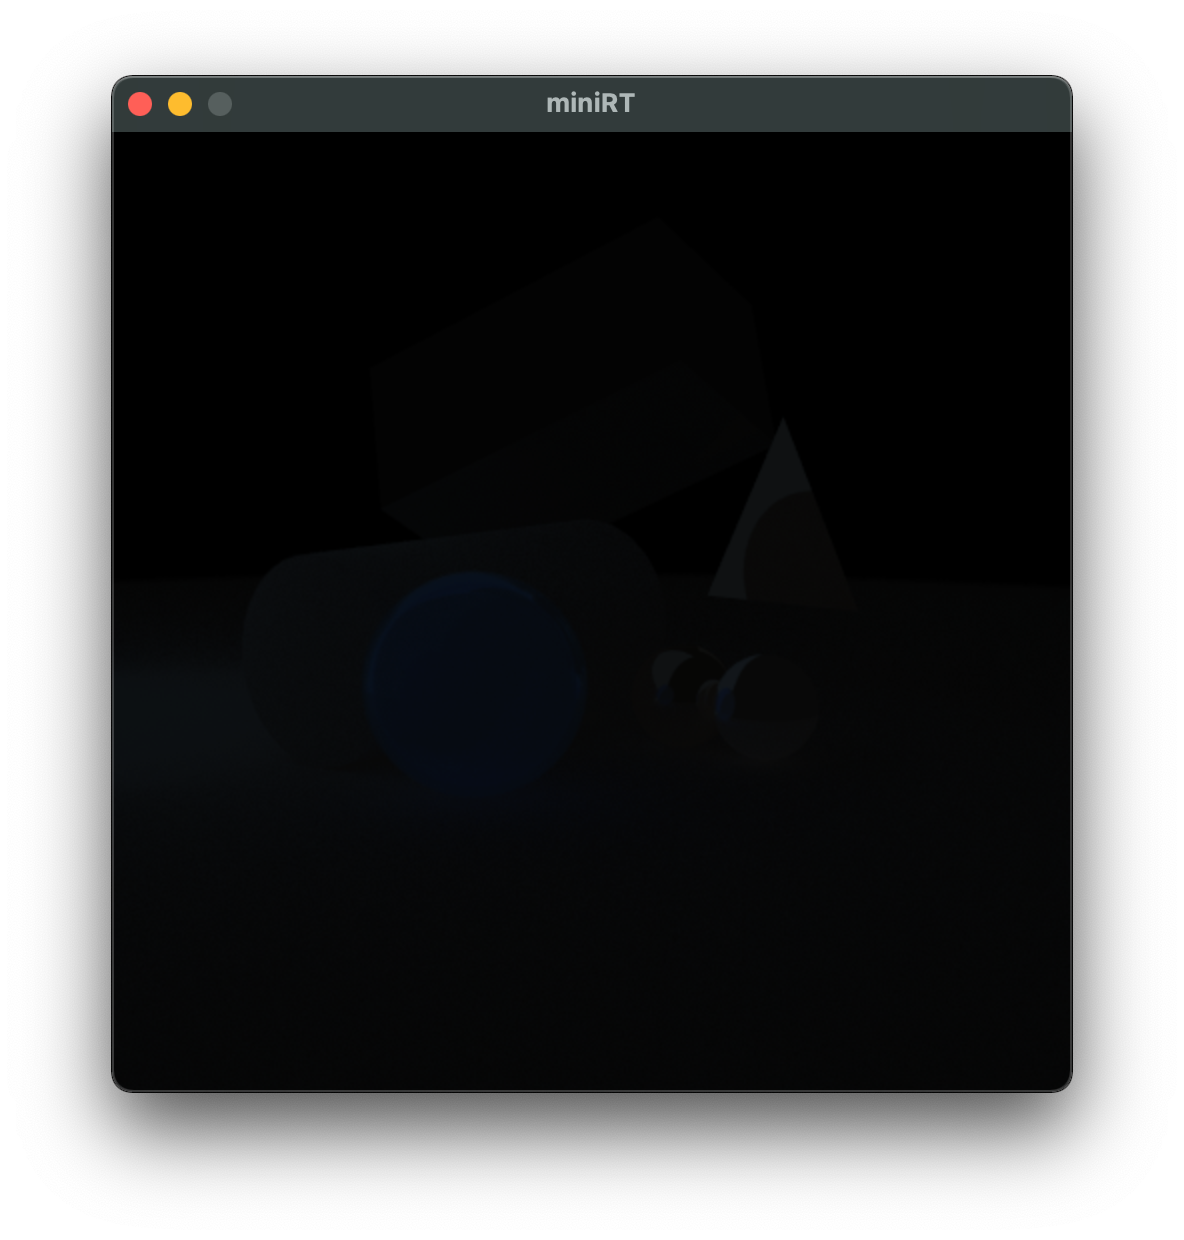
}키를 눌러 카메라를 움직일 때 화면 리셋 및 전역변수 depth와 samples를 최저값으로 세팅 후,
가만히 있을 때는 depth와 samples의 개수를 증가시키며 광선 정보들을 화면에 축적시키는 것이다.
성능에 가장 크게 영향을 미치는 부분이 intersection 확인인데 속도를 조금이라도 높이기 위해 double 대신 float 연산을 사용했다.
평면과 삼각형 intersection 구하기
반사와 굴절 구하기
IllusionCatalyst
\( C \) = Point at the center of the base of the cylinder \( H \) = Point at the center of the top of the cylinder \( r \) = Cylinder radius \( P \) = Point on the cylinder surface \( L_{0} \) = Point on the line \( \mathbf{v} \) = Vector that defines the
www.illusioncatalyst.com
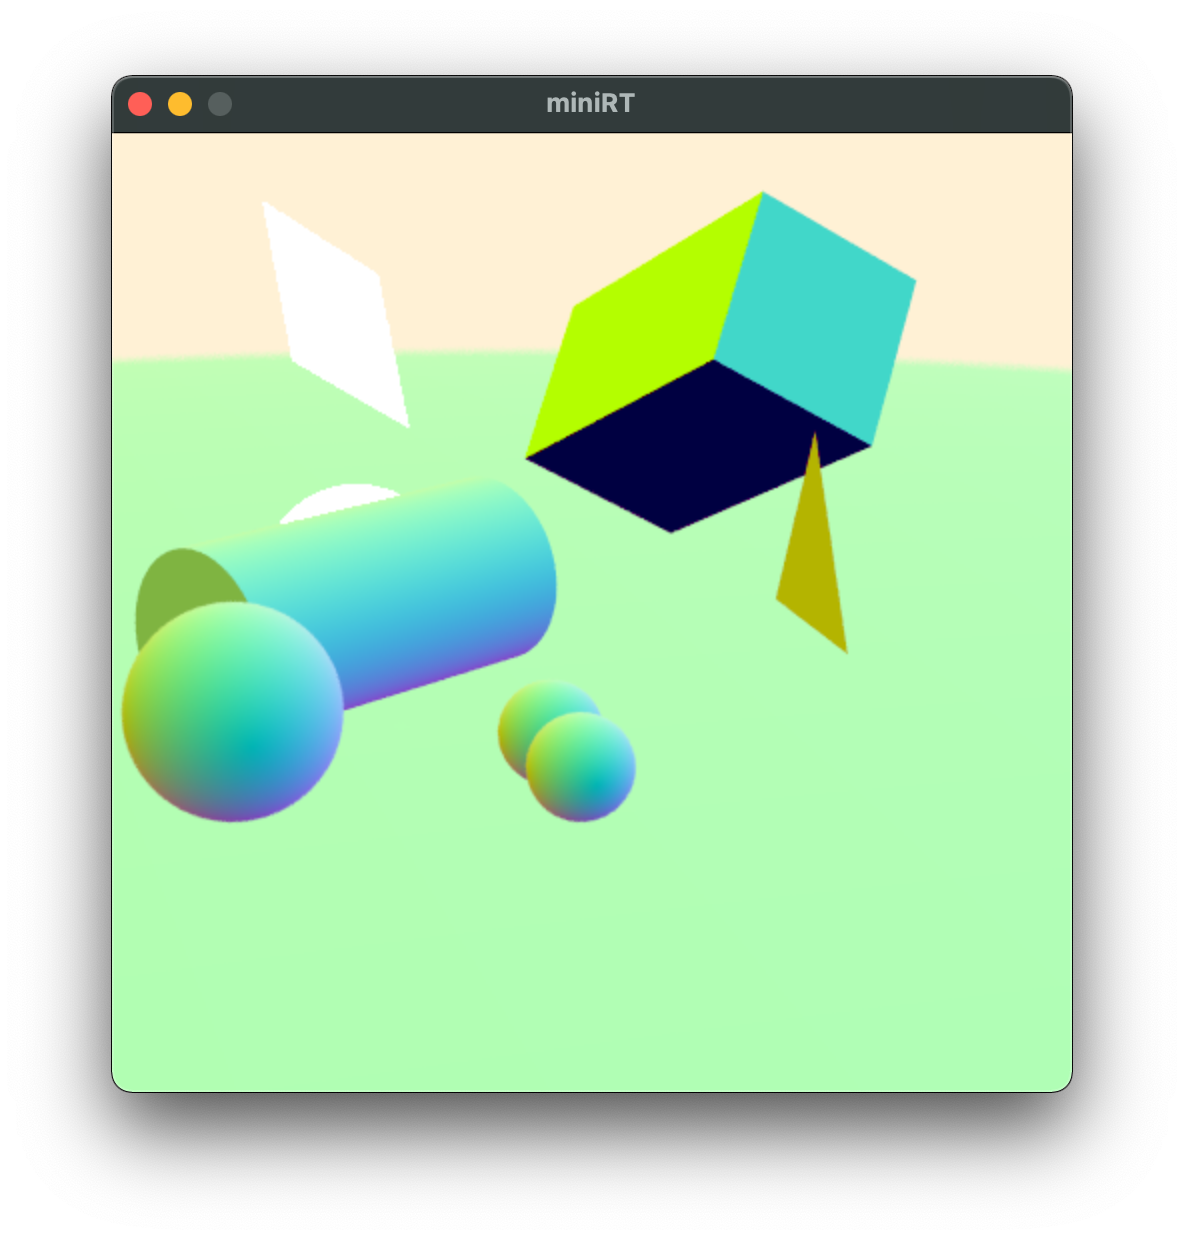
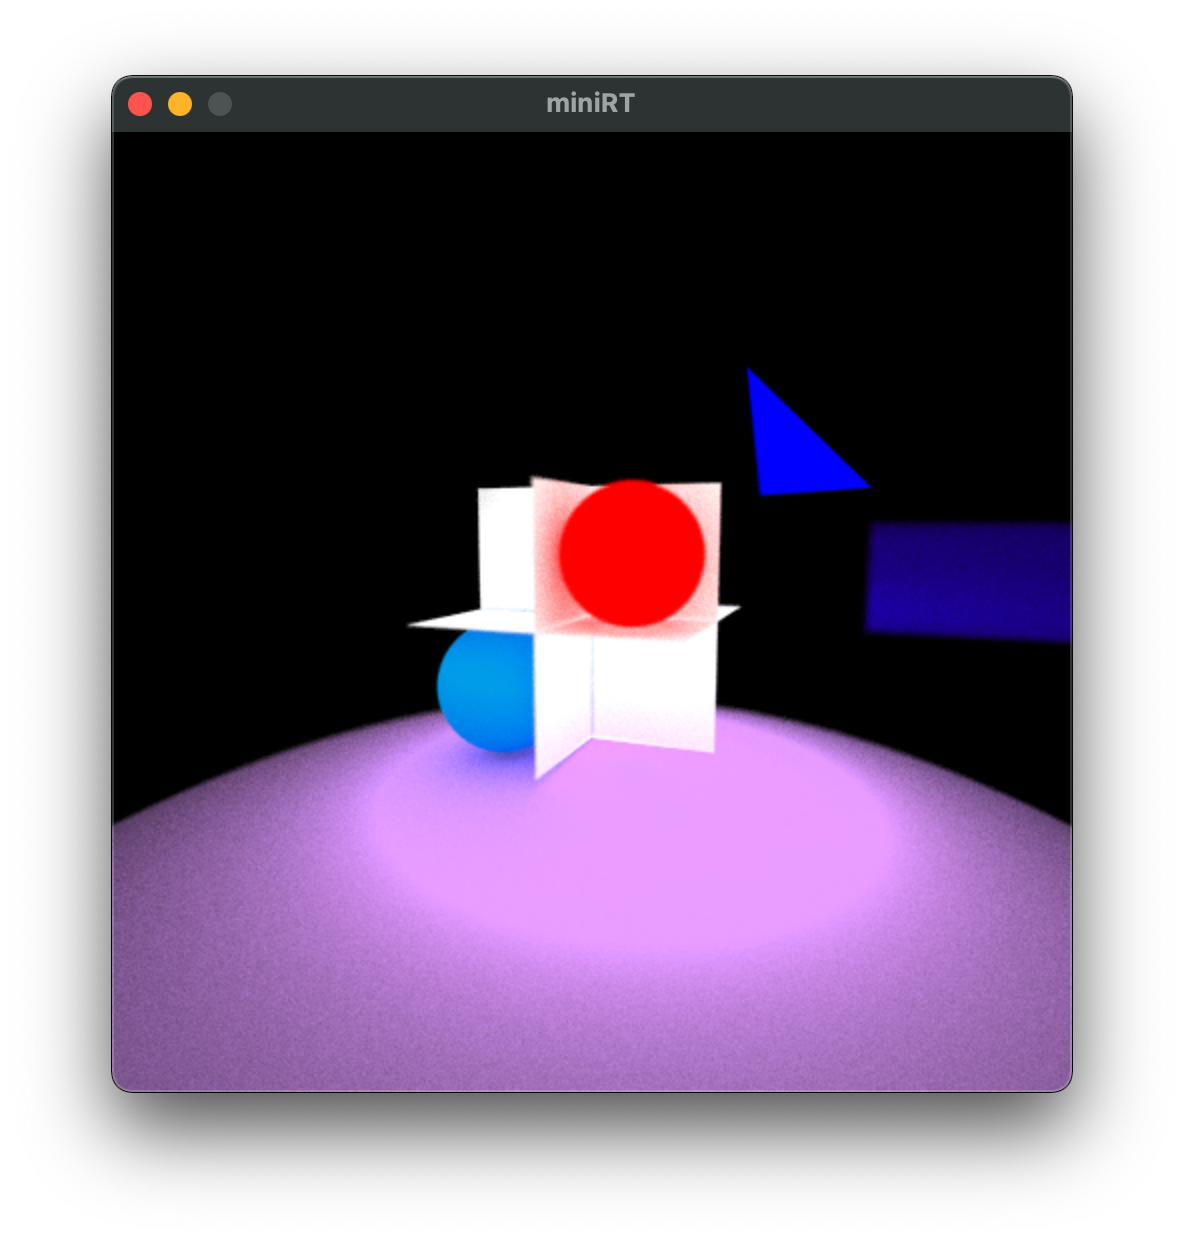
전반적인 광선 추적 모델 정리
사각형은 삼각형에 변을 하나 추가하여 구현하였고,
직육면체는 사각형의 변 두 개씩 가위곱하여 직교를 구한 후 여섯 개를 이어 붙여줬다.
회전은 임의의 축에 대하여 김벌락gimbal lock이 발생하지 않도록 실수부와 벡터부로 나뉘는 사원수quaternion를 사용했는데
사원수의 회전에 대해서는 eater.net/quaternions 에서 더 명확한 직관을 얻을 수 있다.
Visualizing quaternions, an explorable video series
Explaining how quaternions, a four-dimensional number system, describe 3d rotation.
eater.net
bool			has_value(vector *v)
{
	return (v->x || v->y || v->z);
}

vector		get(float (*f)(float), vector *u)
{
	vector	v;

	v.x = f(u->x);
	v.y = f(u->y);
	v.z = f(u->z);
	return (v);
}

quaternion	convert(rotation angle)
{
	quaternion	q;
	vector		radians;
	vector		cos;
	vector		sin;

	radians = get(degrees_to_radians, &angle);
	radians = divide(radians, 2);
	cos = get(cosf, &radians);
	sin = get(sinf, &radians);
	q.w	= cos.x * cos.y * cos.z + sin.x * sin.y * sin.z;
	q.v.x = sin.x * cos.y * cos.z - cos.x * sin.y * sin.z;
	q.v.y = cos.x * sin.y * cos.z + sin.x * cos.y * sin.z;
	q.v.z = cos.x * cos.y * sin.z - sin.x * sin.y * cos.z;
	return (q);
}

vector		rotate(vector v, rotation angle)
{
	quaternion	q;
	vector		v_;
	vector		t;

	v_ = v;
	if (has_value(&angle))
	{
		q = convert(angle);
		t = cross(multiply(q.v, 2), v);
		v_ = add(v_, multiply(t, q.w));
		v_ = add(v_, cross(q.v, t));
	}
	return (v_);
}
해당 프로젝트의 리포지토리는 아니지만 이를 위해 준비 과정에서 C++로 진행되는 Ray Tracing in One Weekend 강의를 C로 포팅한 리포를 공유한다.
github.com/eastriverlee/raytracing.git
eastriverlee/raytracing
Contribute to eastriverlee/raytracing development by creating an account on GitHub.
github.com
구조체를 사용하여 C로 OOP를 적당히 흉내내었다. 포팅의 취지에 맞게 강의의 코딩스타일을 최대한 따라해 비교를 용이하게 했다. 강의의 listing 이미지를 구분점으로 삼아 커밋별로 나눠두었다.
Blender, 3Ds max, Maya 등의 상용 레이트레이서처럼 더 최적화를 하고 싶다면 Bounding Volume을 사용할 수 있는데, 내가 이해한 바가 맞다면 Axis-Aligned Bounding Box, 줄여서 AABB와 같은 간단한 Volume을 사용하여 primitive를 감싸 제곱근, 코사인, 사인 등 비싼 intersection 연산 이전에 상대적으로 간단한 연산(단순 크기 비교)으로 미리 걸러내는 것이다. 따라서 primitive에 도달하는 광선에는 오히려 불필요한 오버헤드가 걸리지만, 어디에도 닿지 않는 광선의 경우 복잡한 연산을 피할 수 있어 무척 효과적이다.
'개발 > 결과' 카테고리의 다른 글
| [todoom] 할 일 목록 (0) | 2022.06.09 |
|---|---|
| [hocus] 맥 창 초점 전환 (0) | 2022.04.30 |
| 고도의 물리엔진과 액티브 래그돌active ragdoll (0) | 2021.04.17 |
| 맥 모니터 피벗 전환(applescript + automator) (1) | 2020.07.27 |
| 한국어 발음 프로그래밍 (한국어 tts) (0) | 2020.07.26 |


